i love redecorating. i always have, and i’m guessing i always will. that being said my tastes have evolved over the years, and redecorating now is significantly more costly than it was when i was teen who thought that walls covered in magazine pages and cd covers were the epitome of eclectic chic. justin timberlake, i’ll love you forever, but i don’t miss your face being on my bedroom door. that goes for you, too, shirtless david beckham (i swear that poster was a gift from a friend). nowadays i prefer a cleaner aesthetic with a balance between masculine and feminine. i also enjoy being able to buy groceries and pay bills, so that means avoiding cb2 and west elm whenever my inner interior designer begs to be released. when my husband and i recently realized that we needed to do a better job at adult-ing, we thought a logical step would be investing in bedside tables to up the ante in our minimalistic bedroom.
enter: an easy DIY project that suits my caviar design tastes on a canned tuna budget.
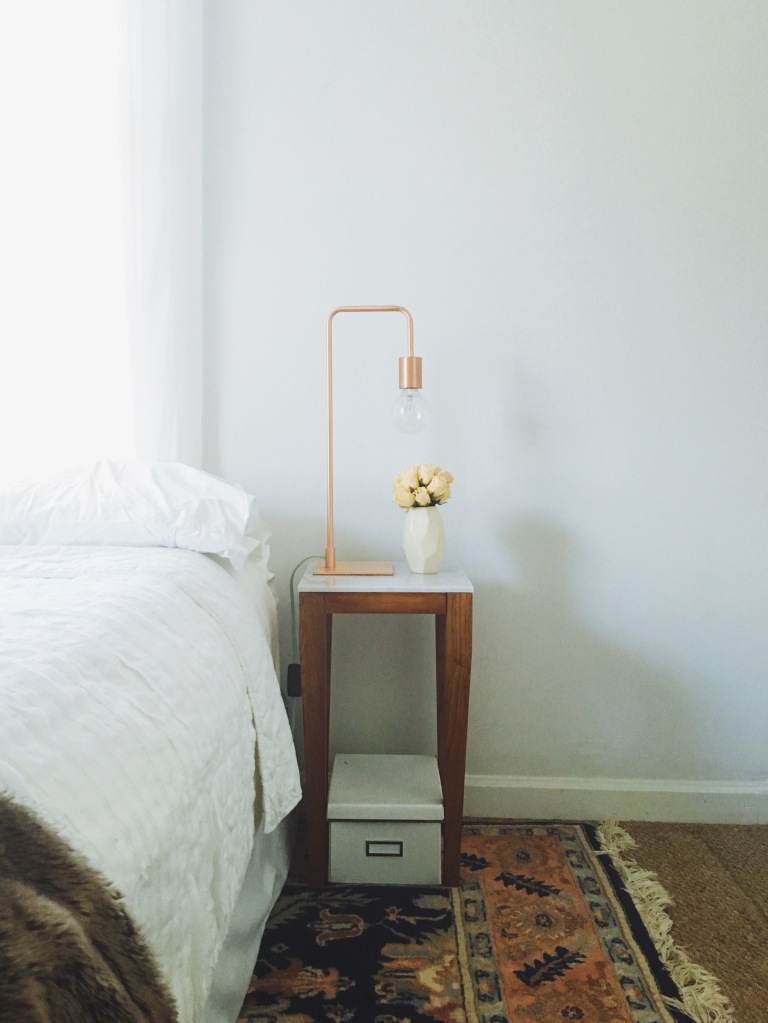
we have a plain wooden end table from crate&barrel that cost around $120 (thanks, wedding gift cards!), and i wanted to mimic its style and incorporate every hipster girl’s favorite material, marble. for about the same cost as the one wood table from c&b, we made two wood and marble tables. hello, fancy, grown-up bedroom!
in theory, you could use any sort of tile for your tabletop, but you may need to modify your measurements if your tile is larger or smaller than ours. we bought our 12″x12″ marble tiles for around $4.00 at lowe’s, and we ordered our table legs from homedepot.com. the rest of the supplies came from lowe’s, and i highly recommend having your wood cut in-store if you’re able. it saved us a ton of time and hassle, and it ensured that our pieces were all the same size. before assembling, we sanded and stained our legs and pieces, then we got started.
Wood + Marble Side Table
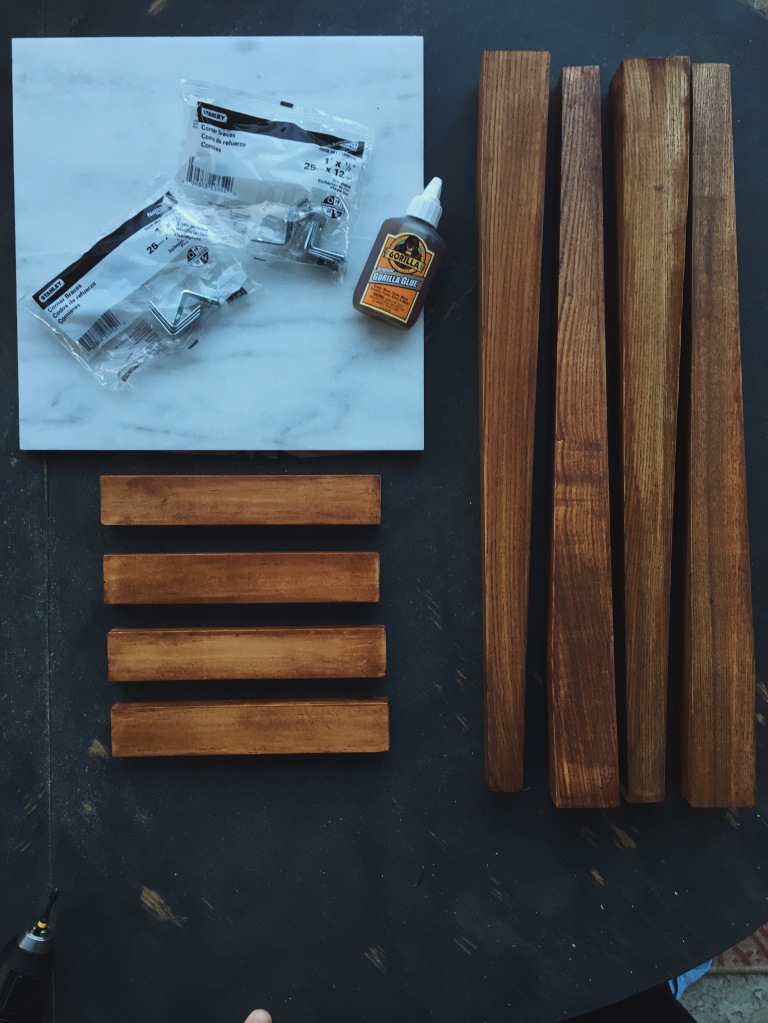
materials:
- 4 table legs with square tops (see homedepot.com link for the ones we used)
- 4 pieces of 1″x2″ wood, each cut to equal 11.75″ when between two table legs (since our legs were 1.75″ wide or 3.5″ total for 2, our wood pieces were cut to 8.25″)
- 1 piece of 12″x12″ marble tile
- 8 1″x.5″ corner braces with screws (be sure screws are shorter than the wood pieces’ depth)
- gorilla glue
- 4 clamps, optional but encouraged
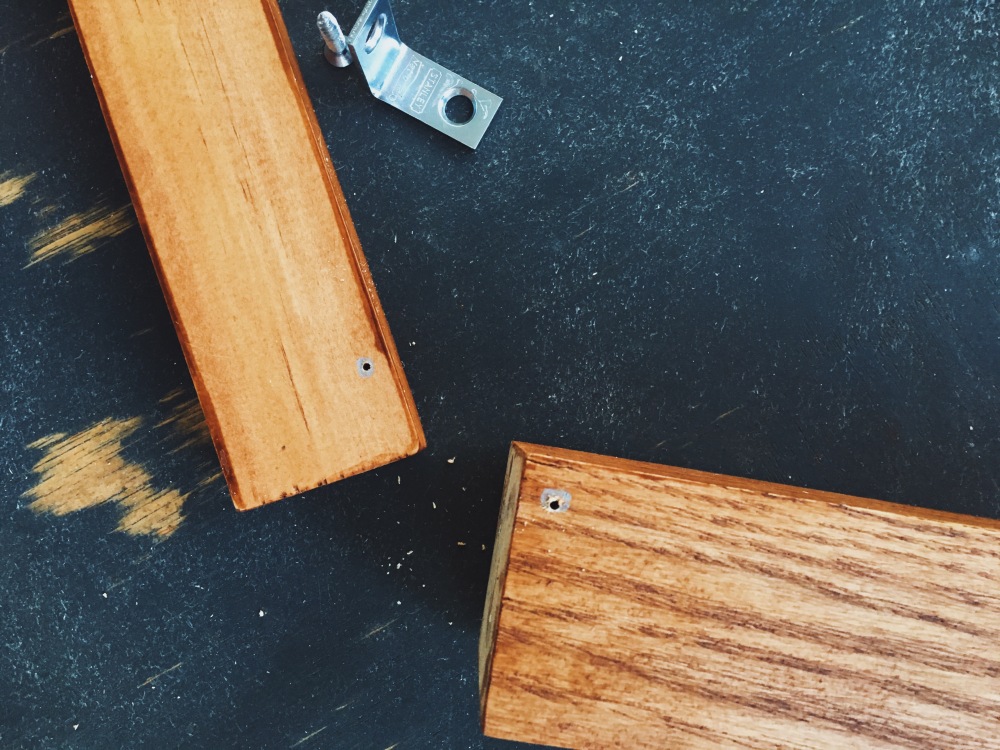
first, position two legs as your want them to look when finished, them flip them upside down and place a wood piece between them. place your corner braces at the join of each leg and the piece, then mark the holes for your screws. remove the braces, lay the pieces flat, and drill a pilot hole at each mark. mount your braces to each leg first, then place a thin stripe of gorilla glue on either end of the wood piece for added security as you secure it to the brace with a screw.
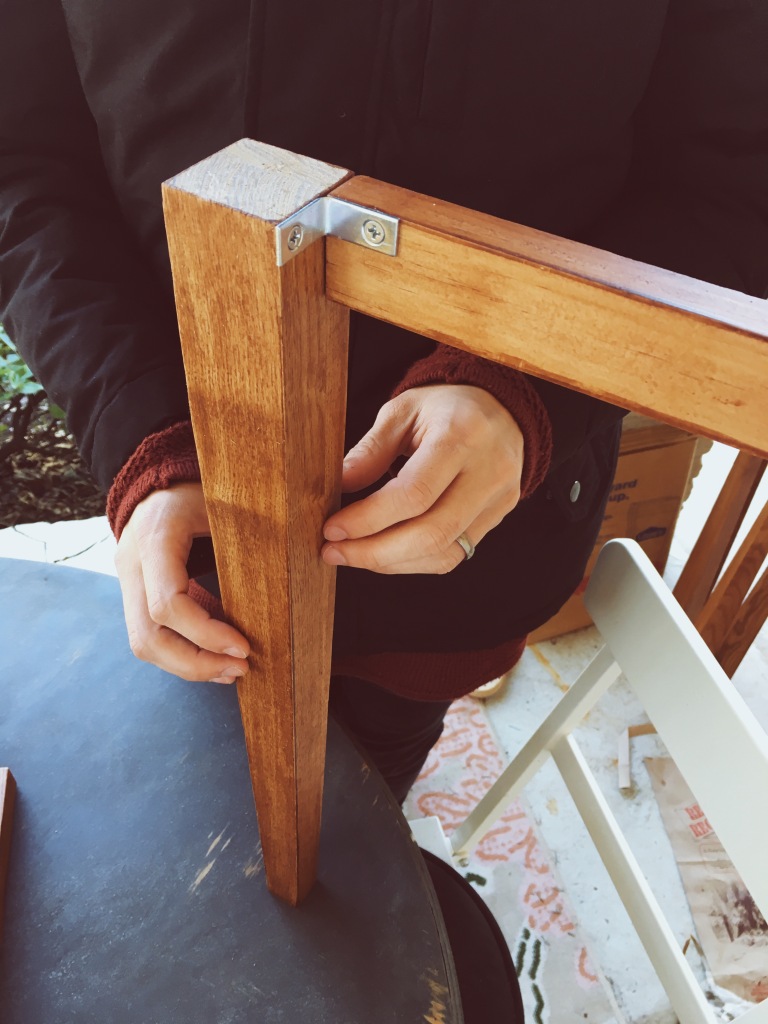
repeat this step with the other two legs, then connect the two sides with the remaining pieces of wood in the same way. be sure to stagger the position of your braces so the screws don’t overlap at the corners. we figured this out the hard way and ended up having to reposition our braces after drilling our holes. ugh.
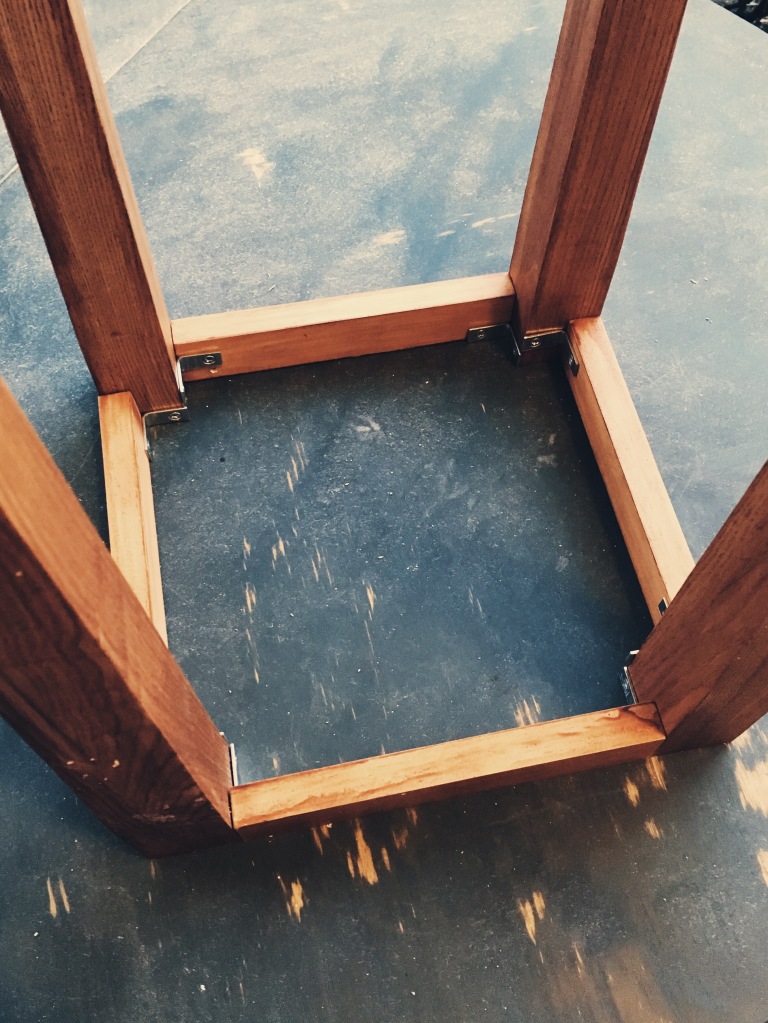
once your base is finished, it’s best to let the glue set before moving on to the top. if you don’t have time to work in stages, just be sure to use clamps when you attach your top to ensure a tight seal wherever the glue is since gorilla glue expands as it dries.
to mount the the top, stand the base up, place a dime-sized amount of glue on the top of each leg, and add a thin line of glue along the top of each side/wood piece.

slowly and evenly place the marble on top, making sure it lines up evenly on each side. once it is in place, gently clamp each side down to ensure it adheres tightly. we clamped ours too hard the first time, and it cracked our tile. we learned our lesson, and we put a piece of tissue under the top of each clamp and loosened it to a snug but not overly tight fit.
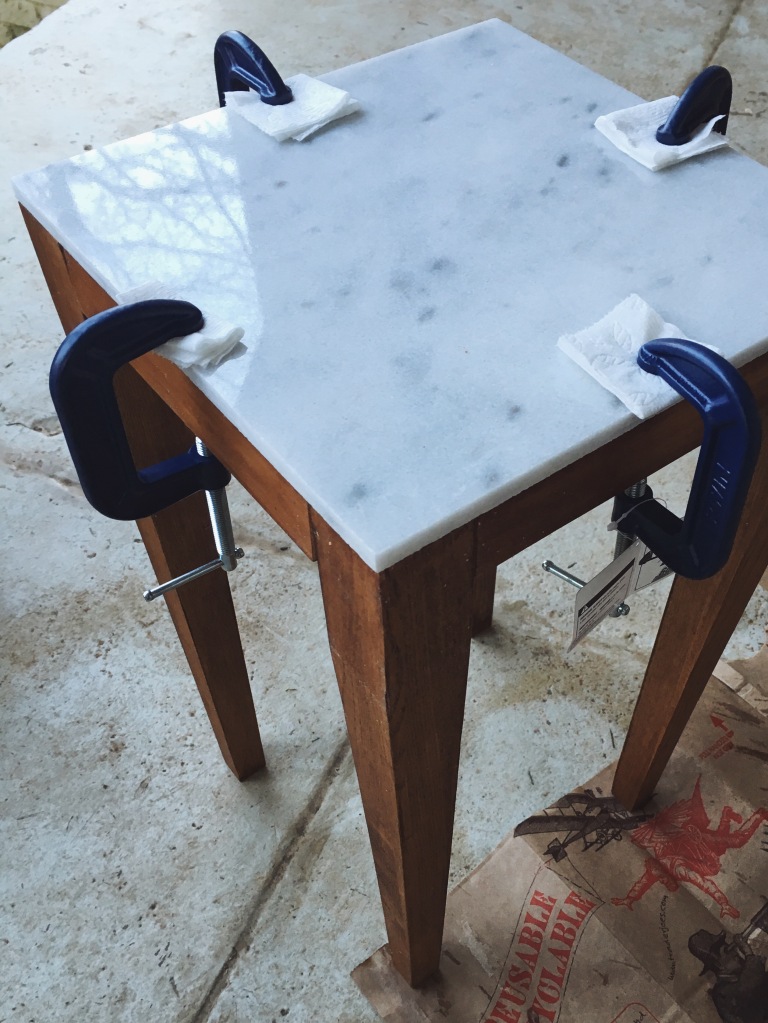
we left the clamps on for about four hours before removing them and wiping the table down. then we classed up our room and patted ourselves on the back for a job well done. with each table costing roughly $56.00, i may not even be angry if our puppy roux chews on its legs (because she definitely did that to the crate&barrel one). now if only i could convince our landlord to put in hardwoods in the bedrooms…

I love this! My have to make this when I move this summer!
LikeLike
Do it, girl! Where are you moving?!
LikeLike
This is so pretty!
LikeLike
Thank you!
LikeLike